This article is also available in:
French
3DVF: Furry characters can be quite challenging. Can you tell us about the grooming and surfacing process of the characters? Did the hair/fur create any issue afterwards, for example at the lighting & rendering stages?
Quentin Vien/Blinkink: The grooming process was intense.
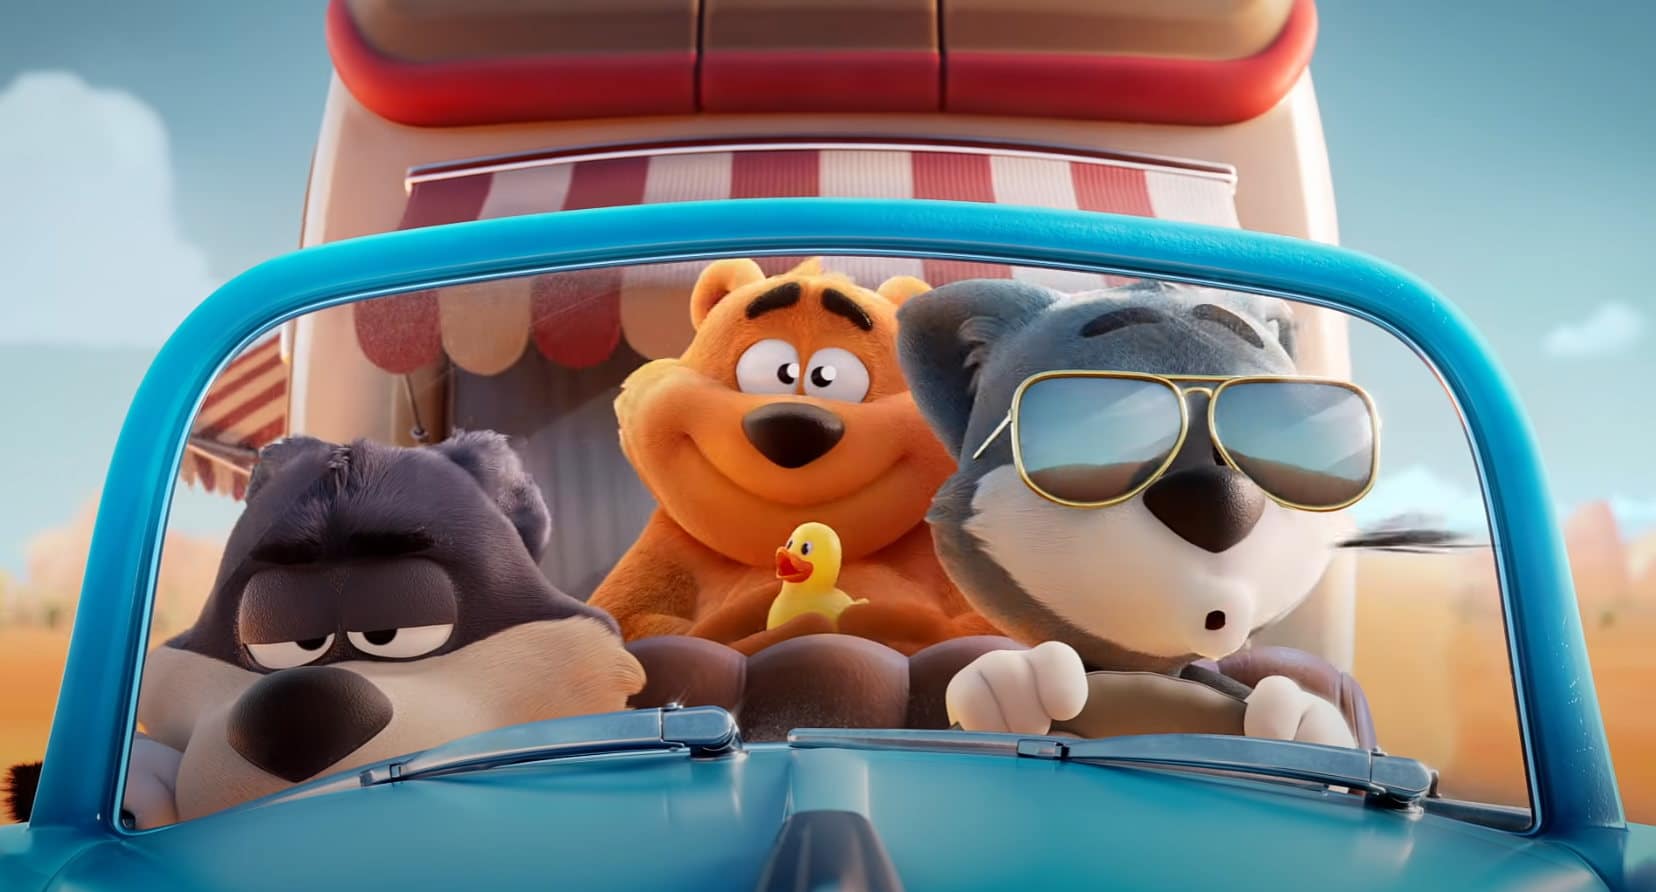
We wanted to find a look that would be in between 2D and 3D. Something that would not feel like a stuffed toy but would not be flat either in order to achieve cinematographic lighting.
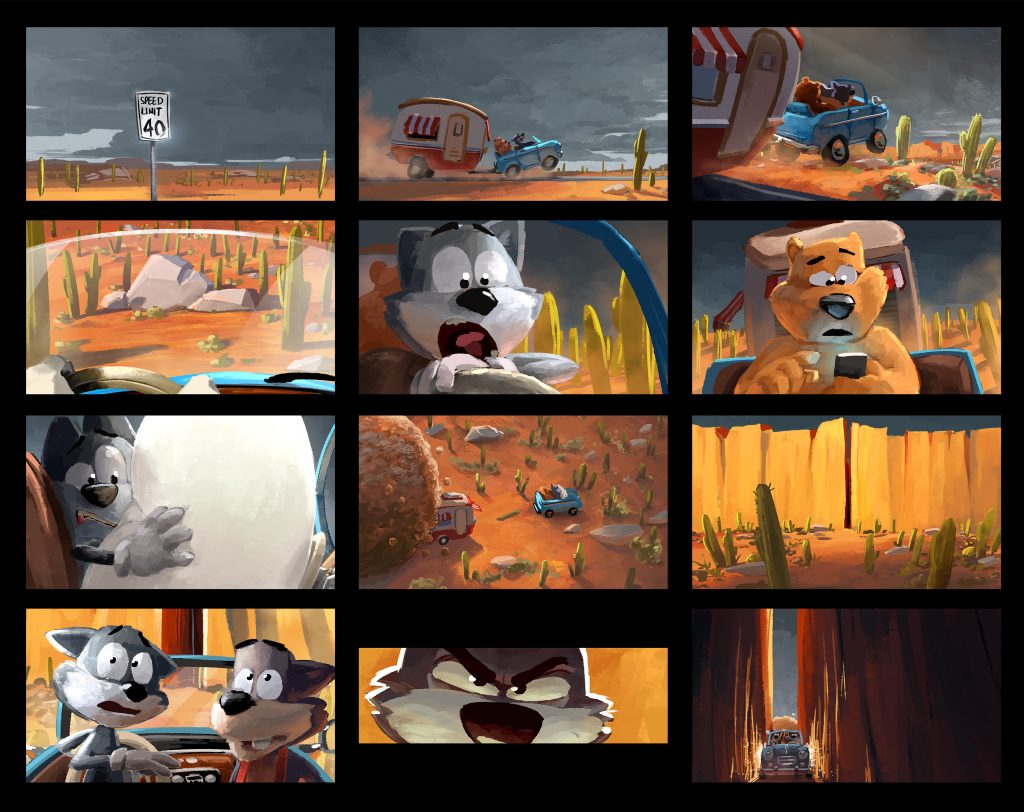
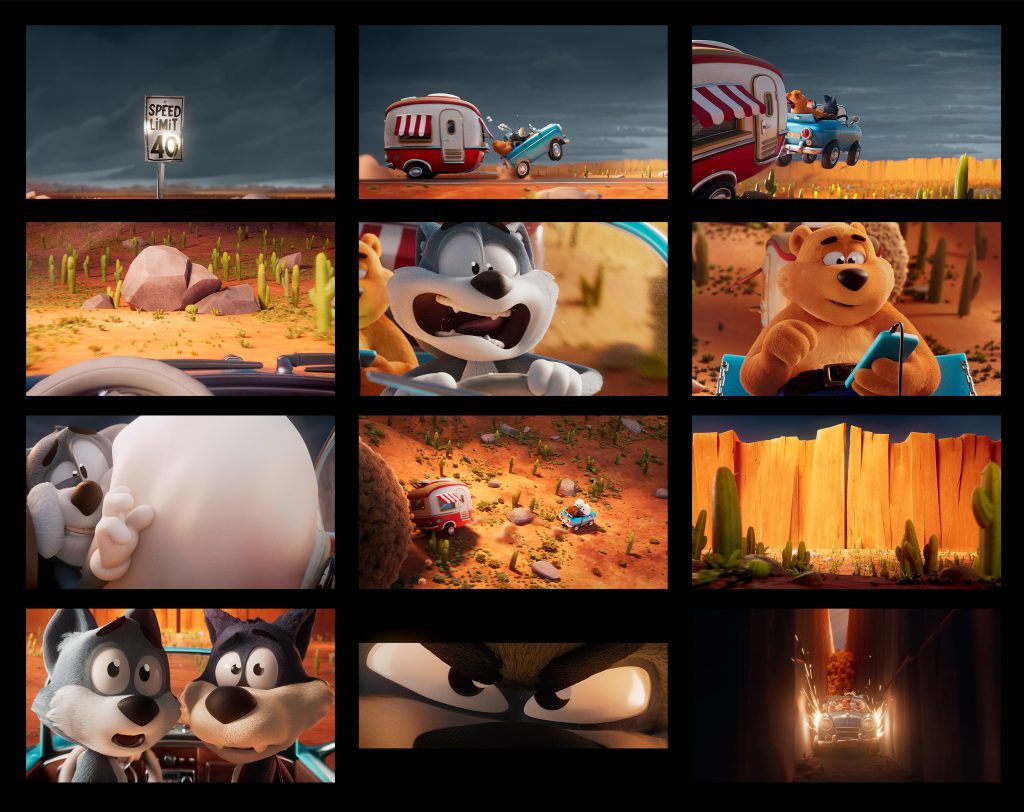
Blinkink stop motion background helped a lot, we knew that hair could look amazing in stop motion so we were confident we could achieve the look we wanted using physically based shaders.
Cooper Cat was the first character we RnD, under Dorianne Fibleuil’ supervision (Our CG lead). The process took us a lot of back and forth between groom, texturing and shading to find out what worked. We worked the look dev in a very controlled environment (Our “Template scenes”) so that we knew how the characters would react under any lighting conditions.
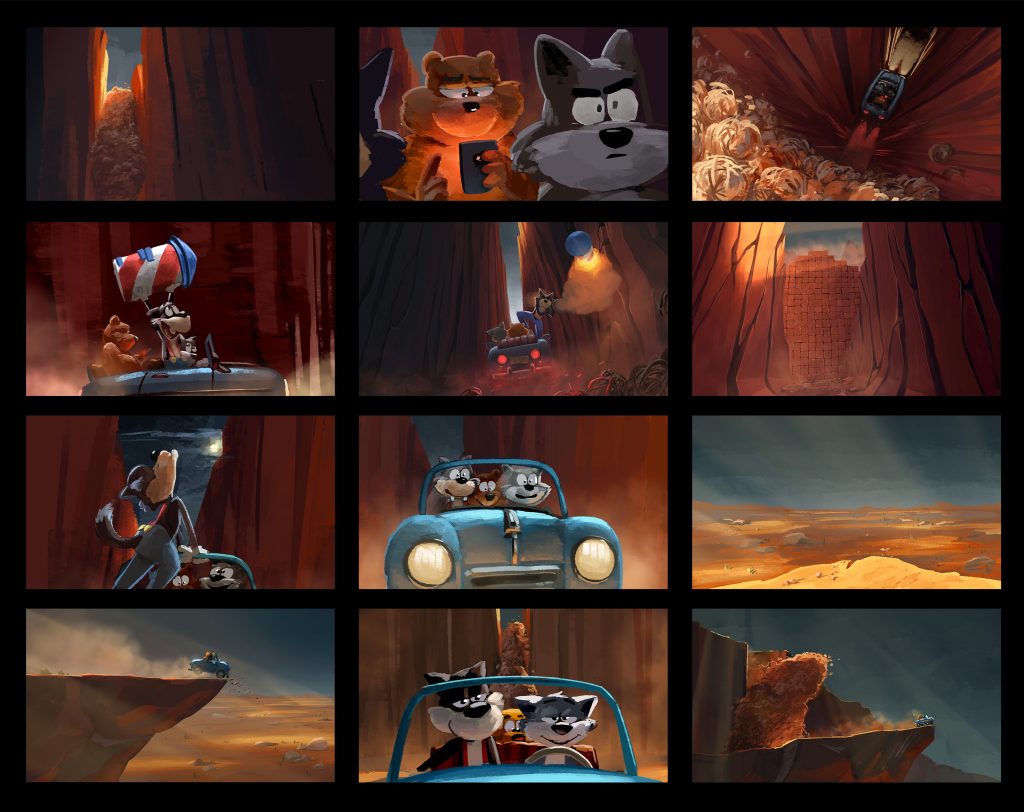
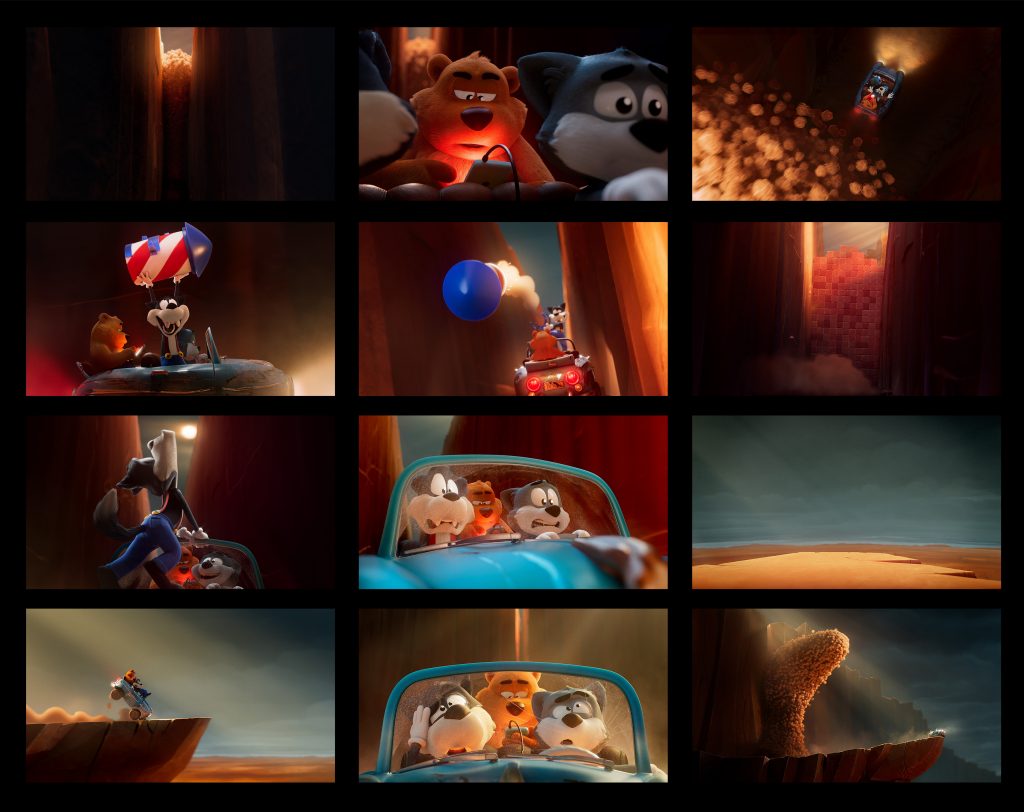
In the end, the hair is a very translucent shader with a bit of self-illumination. We didn’t do any “per shot” surfacing. We used mainly area lights for lighting, to get a soft look. The way the hair clumped and how graphical the hair spikes are, was pivotal in getting the look right.
We didn’t have so many issues during production but mostly because we had so many during pre-production!
The process was made a bit more complicated due to the software we were using.
The main groom was made in Maya using Yeti, from there we got guides exported as Alembic and used them in Modo for the clumping and shading.
The animation was done in Maya and rendered in Modo so we used point caches for the mesh and guides (The mesh were cashed in Maya and the guides in Houdini). It was time-consuming but the results were consistent so it scaled up nicely.
Obviously rendering full furry characters, lit with area light and with all the indirect lighting wasn’t cheap in render times. But we could work in small resolution and low settings and fire the final renders in 2k full settings once we were happy with the lighting.
3DVF: The Tumbleweed ball/wave was, obviously, a key element to this project : how did you handle it?
Quentin Vien/Blinkink: As soon as the Tumbleweed script was picked we were all aware that the film had not 3 but 4 characters.
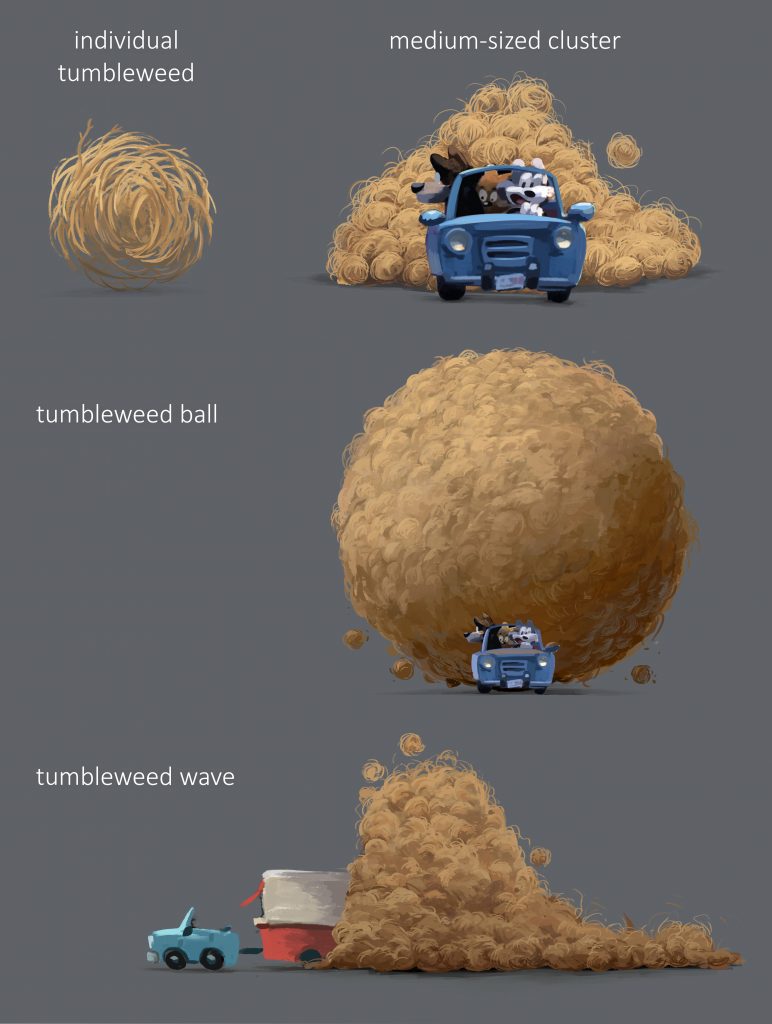
We did some simple tests during pre-production to check what worked and what didn’t. We’ve been using Modo for a few years now, and it has a lot of great, simple tools for instancing (what they call “replicators”) so we tailored the design to work with these tools.
The first step was a “brute force” test. We modelled a high resolution and low-resolution tumbleweed and instanced it on a grid. The grid was then deformed to look like a wave. It was simple and effective… and slow…
In parallel we started modelling the hero tumbleweed, being aware that we would need to make lots of variations, we wanted to find a non-destructive, easy to iterate system.
We tested renderable curves, fur and traditional modelling. We ended up with 3 models using each technique, they were virtually identical (when very small in screen space) and with different advantages.
Animation wise, Louis wanted the tumbleweed ball/wave to have a life of their own, feel like they move with a purpose. We looked at all the shots and decided to split the tumbleweed into different simple rigs (rather than having a single complex one) the main ones were: a ball, a grid and a tube. The animator would animate the simple shape and the tumbleweed would be added at lighting time.
The lighter received an animated mesh (the ball for example) and could use it to scatter tumbleweeds on it. We could control how many tumbleweeds we wanted, how they were spread (tidy or random), their overall scale, and their random scale. At this point, the setup was using low-resolution mesh, which was fine for the ball but was a bit too expensive for the wave.
Luckily Modo fur and shading system works in layers, we swapped the tumbleweed scattered on the geometry from a mesh to a simple low polygon sphere. We then applied the fur groom to the spheres. The render time went down from hours to minutes! It all looked exactly the same since the fur tumbleweed and the low resolution one looked identical.
This process was shot specific but really quick to iterate so it saved us a lot of RnD time.
3DVF: The short film features lots of FX, such as smoke and sparks. Can you tell us about this part of the project?
Quentin Vien/Blinkink: The project’s spectrum was huge, there was A LOT to do, we had to pick our battles.
Since the whole film is a homage to 70s cartoons (Chuck Jones, Tex Avery, Warner Brothers etc) we decided that the FX should be traditional animation. We would then give them a 3D look in the comp so it sits well in the Toon Blast universe.
It would look awesome AND would free time for the render artists and avoid having a big CG FX team. Win Win.
In the end, the FX were split in two, the atmospheric (very diffused and soft smokes) were made with stock footage and hero FX would be traditional animation.
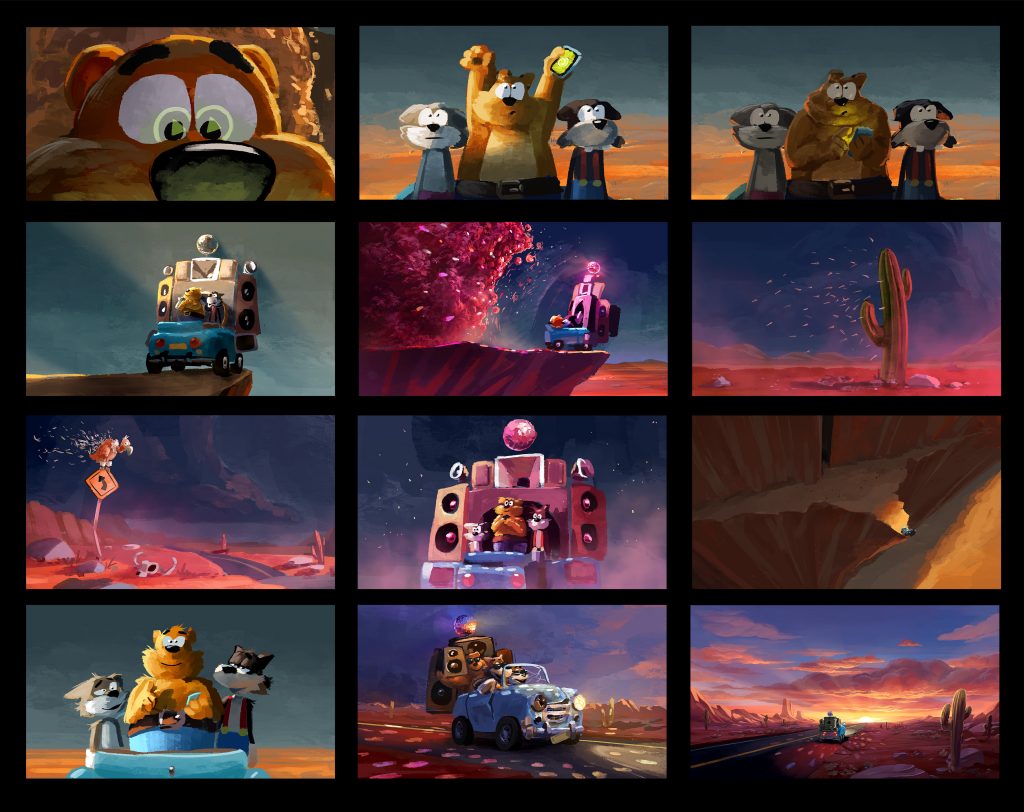
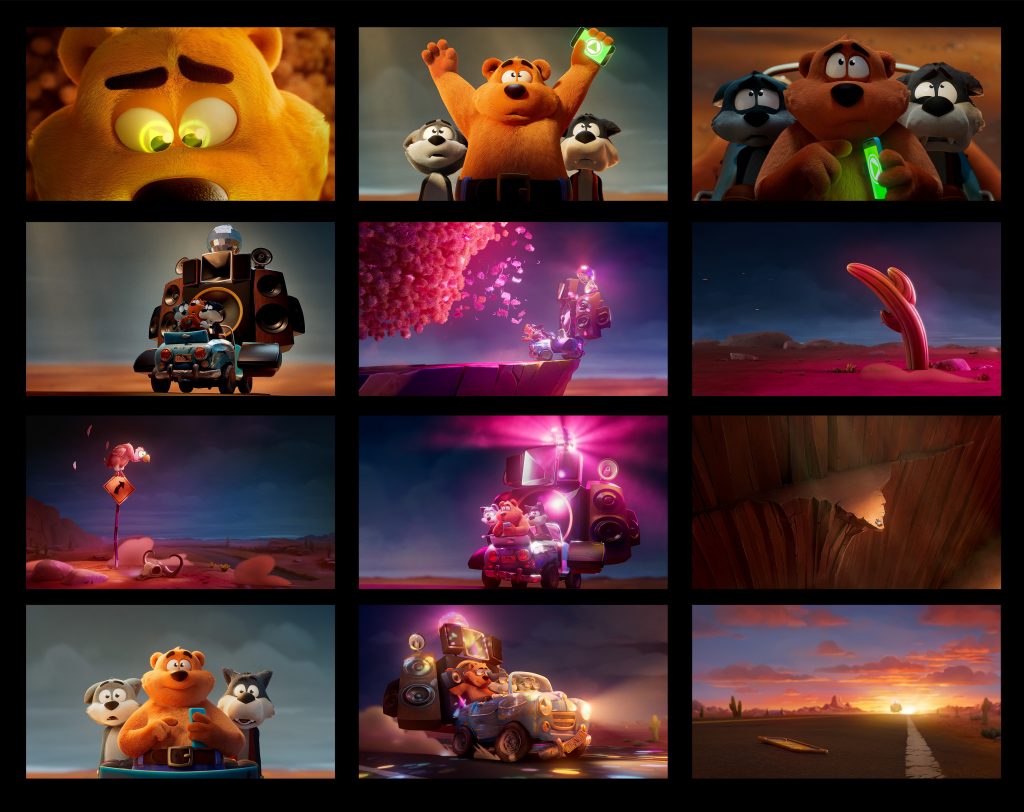
Josep Bernaus Valls single-handedly animated the 2D FX and exported all the smoke in layers (Main shape, shadow and highlight). We made a Nuke gizmo that allowed us to blend the layers in a 3D way, choosing the amount of translucency, shadow softness and highlights colour. The 2D explosion used a similar gizmo, we just had a FEW more layers.
Next Page: the climax of the movie with the huge tumbleweed wave, the car.
